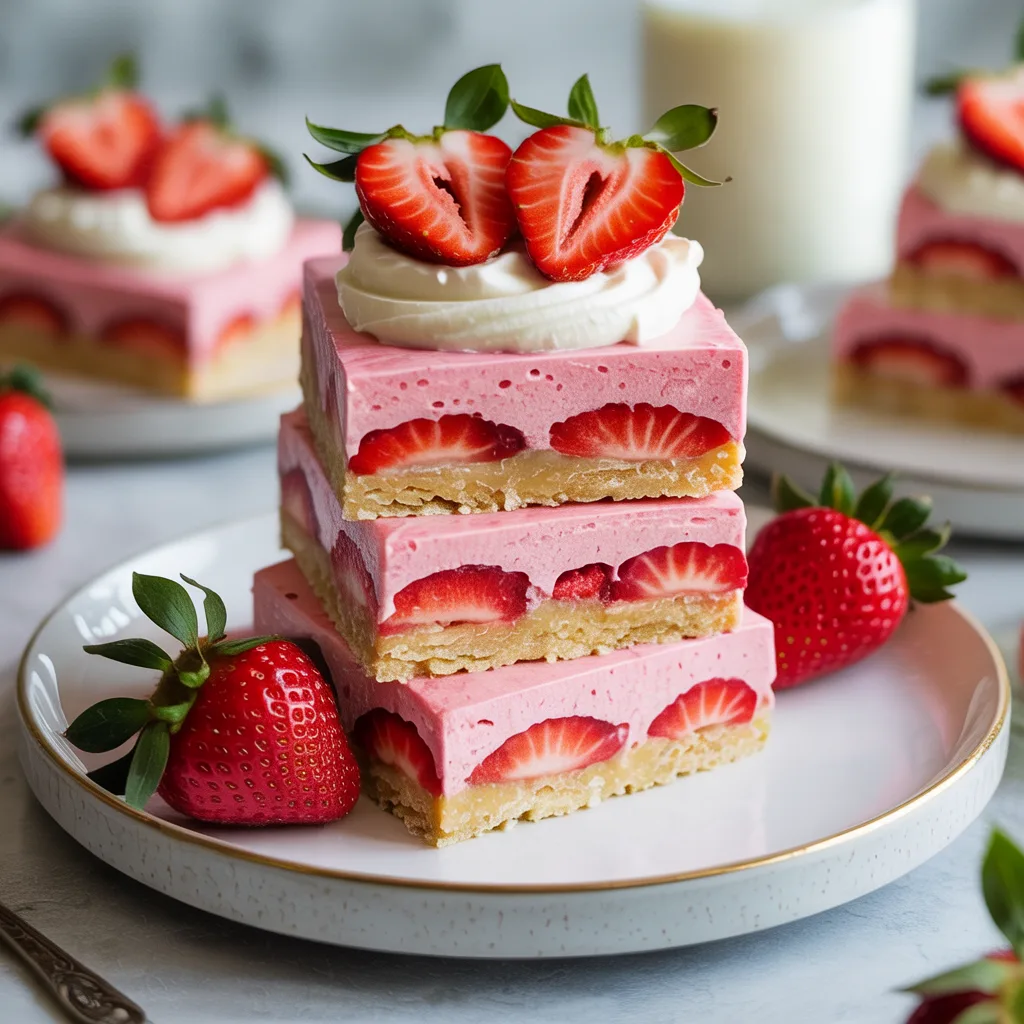
So you want dessert… but you don’t want to turn on the oven, count a million carbs, or spend two hours pretending you’re on a baking show? Same. That’s exactly why No-Bake Keto Strawberry Bars exist. These little beauties taste creamy, fresh, and sweet, yet they stay completely low-carb and keto-friendly.
I started making them during a hot afternoon when baking felt like punishment, and honestly, I never stopped. You mix, chill, slice, and suddenly you look like someone who has life perfectly together. The best part?
Anyone can make them. No baking skills required. If you love easy keto desserts that actually taste like dessert, you’re about to find your new favorite recipe.
Why This Recipe is Awesome
Let’s be honest. Some keto desserts taste… suspicious. Either they feel too heavy or weirdly artificial. These No-Bake Keto Strawberry Bars avoid all that drama.
Here’s why this recipe wins:
-
No oven needed — your kitchen stays cool.
-
Low carb and keto approved.
-
Fresh strawberry flavor instead of fake sweetness.
-
Beginner-friendly and nearly impossible to mess up.
I made these the first time while half distracted, and they still turned out perfect. If a recipe survives my multitasking, it deserves respect.
The creamy filling feels like cheesecake, but lighter. The almond crust adds crunch without carbs. And yes, they look fancy enough to impress guests even if you secretly made them in pajamas.
Ingredients You’ll Need
Simple ingredients. No complicated shopping trips. Just grab these:
-
1 ½ cups almond flour (your keto baking hero)
-
¼ cup melted butter
-
2 tbsp keto sweetener
-
8 oz cream cheese, softened
-
½ cup heavy whipping cream
-
½ cup fresh strawberries, blended
-
⅓ cup powdered keto sweetener
-
1 tsp vanilla extract
-
Pinch of salt
Optional toppings:
-
Extra sliced strawberries
-
Sugar-free whipped cream
-
Shredded coconut if you feel fancy
Fresh strawberries make the biggest difference here. Skip artificial flavoring unless you enjoy disappointment.
Step-by-Step Instructions
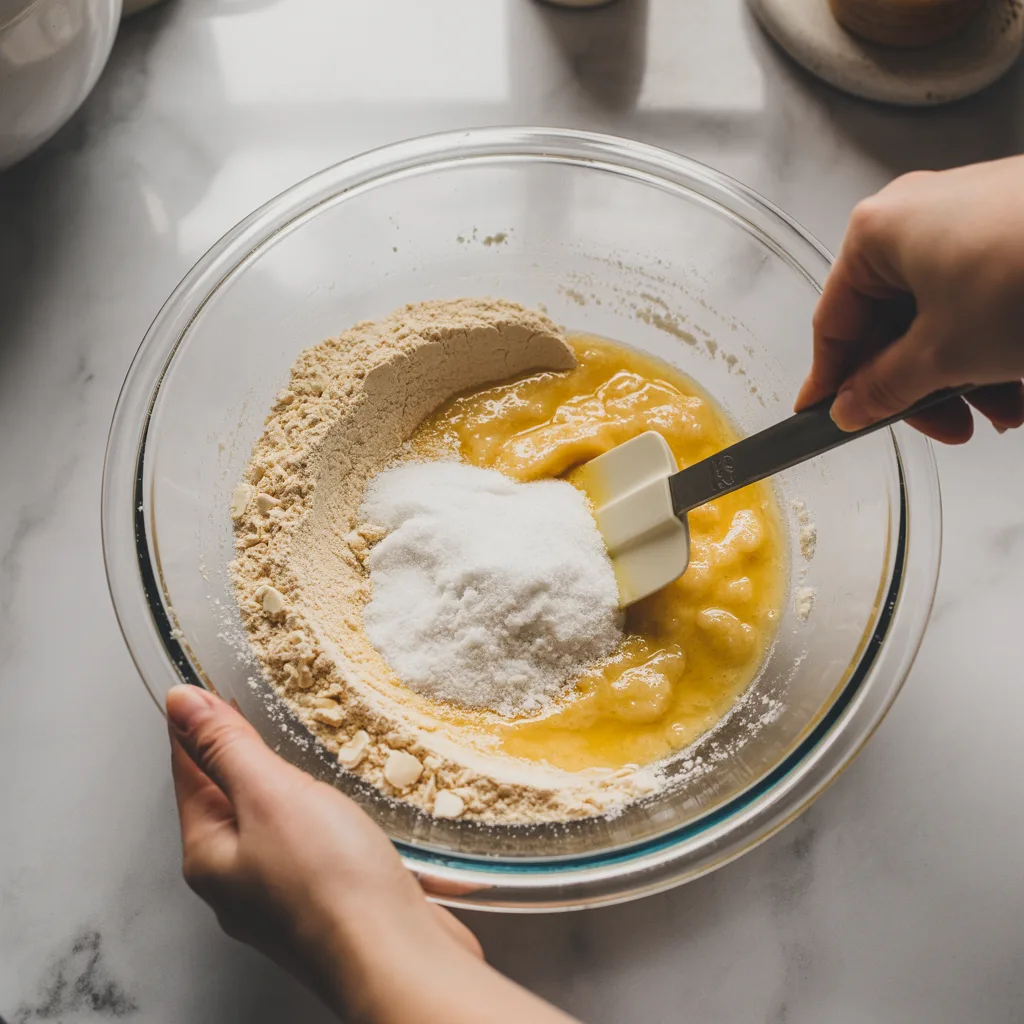
1. Make the crust
Mix almond flour, melted butter, and sweetener in a bowl. Stir until crumbs form. Press firmly into a lined pan. Pack it tight so it holds together later.
2. Chill the crust
Place the crust in the fridge for 15 minutes. This step helps it firm up. Don’t skip it unless you enjoy crumbly chaos.
3. Prepare the filling
Beat cream cheese until smooth. Add sweetener and vanilla. Mix again until creamy and lump-free.
4. Add strawberries
Blend strawberries into a puree. Pour into the cream cheese mixture. Stir gently so the filling stays light and smooth.

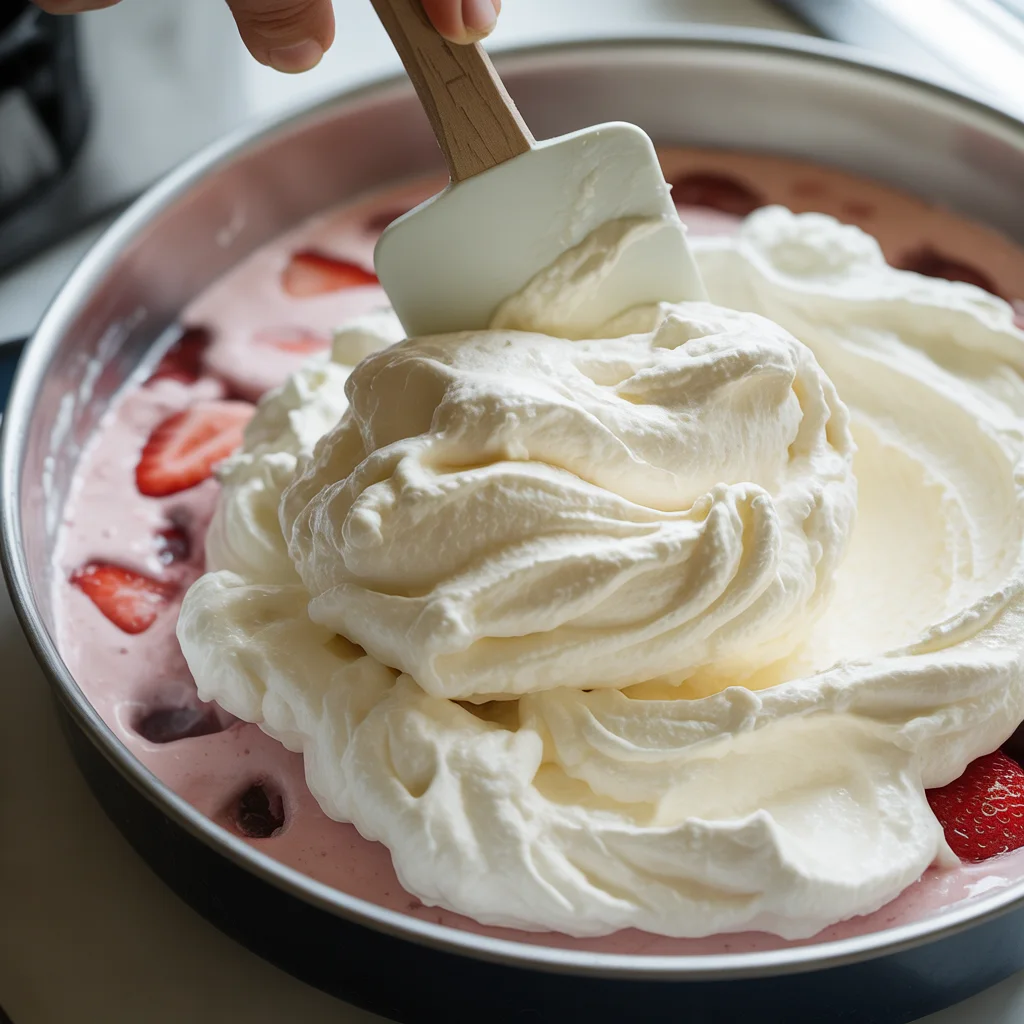
5. Whip the cream
Whip heavy cream until soft peaks form. Fold it into the strawberry mixture carefully. This creates that fluffy cheesecake texture.
6. Assemble
Spread the filling evenly over the chilled crust. Smooth the top with a spatula.
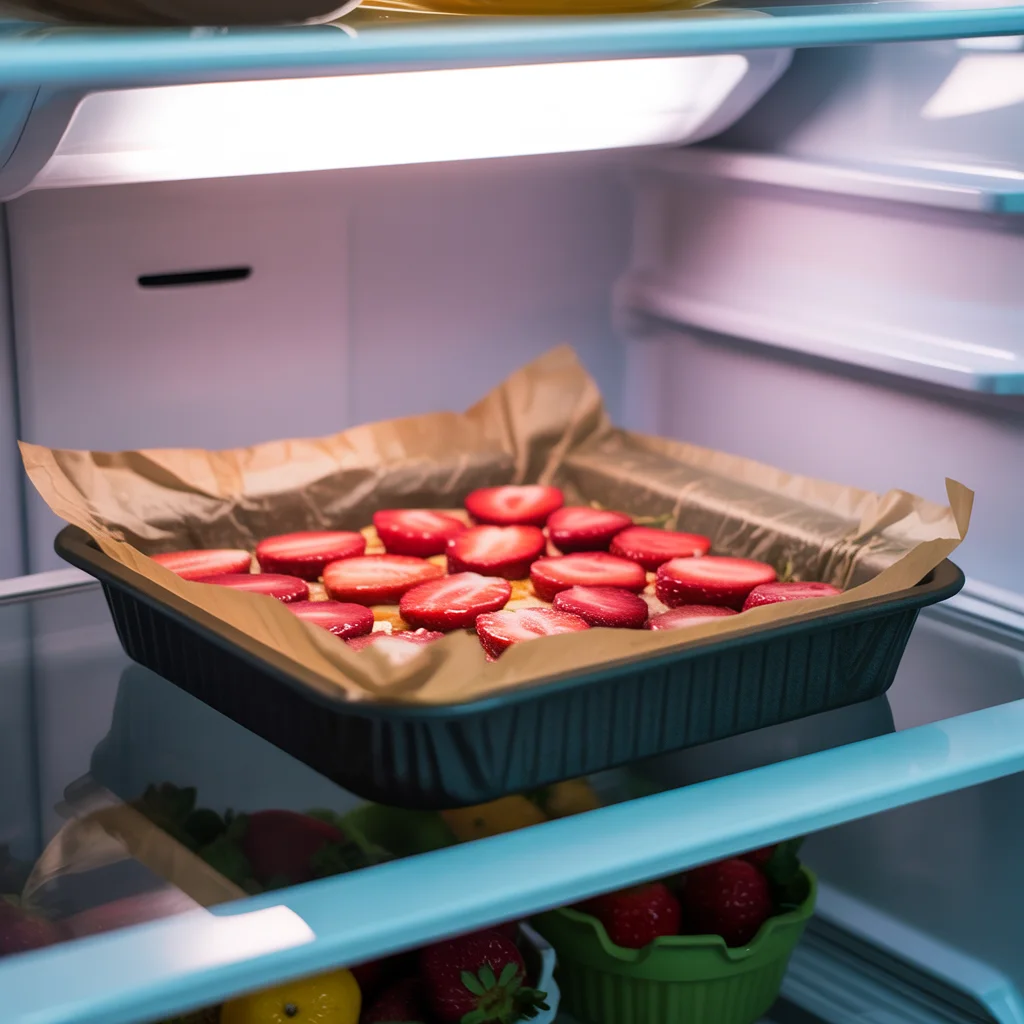
7. Chill and set
Refrigerate for at least 3–4 hours. Overnight works even better if you have patience.
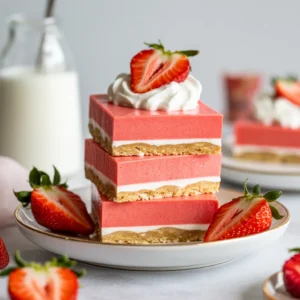
8. Slice and serve
Lift using parchment paper and cut into bars. Clean slices make you look like a pro.
No-Bake Keto Strawberry Bars
Equipment
- Mixing bowls
- Hand mixer or whisk
- Spatula
- 8x8 inch pan
- Parchment paper
Ingredients
- Almond flour
- Butter
- Keto sweetener
- Cream cheese
- Heavy cream
- Fresh strawberries
- Vanilla extract
- Salt
Instructions
- Mix crust ingredients and press into pan.
- Chill crust for 15 minutes.
- Beat cream cheese and sweetener.
- Add strawberry puree.
- Fold whipped cream into mixture.
- Spread filling over crust.
- Chill until firm and slice.
Notes
Nutritional Facts (Approx.)
Calories: 210 Fat: 18g Protein: 5g Net Carbs: 4gCommon Mistakes to Avoid
Even easy recipes have traps. Let’s avoid them together.
-
Skipping chill time — bars won’t set properly.
-
Using warm cream cheese straight from the microwave. It turns runny fast.
-
Adding too much sweetener thinking sweeter equals better. It doesn’t.
-
Not lining the pan — removing bars becomes a workout.
Thinking chilling doesn’t matter? Rookie mistake.
Alternatives & Substitutions
Don’t have every ingredient? No problem.
-
Swap strawberries with raspberries for a tangier flavor.
-
Use coconut cream instead of heavy cream for dairy-light options.
-
Try pecan flour instead of almond flour for a nuttier crust.
-
Add lemon zest for brightness.
IMO, raspberry versions taste amazing when you want extra tartness.
Helpful Tips
Expert Tips for the Best Results
-
Use room-temperature cream cheese for smooth filling.
-
Blend strawberries well to avoid watery spots.
-
Chill longer for cleaner slices.
Serving Suggestions
Serve cold straight from the fridge. Add fresh berries on top for color. These bars work perfectly for summer parties or quick snacks.
Storage and Reheating Tips
-
Store in the fridge up to 5 days.
-
Freeze individual bars for later.
-
Eat frozen bars slightly thawed for an ice-cream-like texture.
FYI, frozen versions taste surprisingly amazing.
FAQ on No-Bake Keto Strawberry Bars
Can I use frozen strawberries?
Yes. Thaw and drain them first. Extra water ruins texture.
Do these taste like cheesecake?
Absolutely. They feel lighter but still creamy and rich.
Can I make them dairy-free?
You can try coconut cream and dairy-free cream cheese. Texture changes slightly but still works.
Why didn’t my bars set?
You probably rushed the chilling step. Patience wins here.
Can I reduce sweetener?
Yes. Strawberries already add natural sweetness.
Can kids eat these?
Of course. They taste like dessert, not “diet food.”
Final Thoughts on No-Bake Keto Strawberry Bars
These No-Bake Keto Strawberry Bars prove that keto desserts don’t need complicated steps or endless ingredients. You mix, chill, and enjoy something fresh, creamy, and satisfying without breaking your carb goals. I love recipes that feel effortless yet impressive, and this one checks every box.
Next time a sweet craving hits, skip the bakery and make these instead. Your fridge will thank you, your taste buds will celebrate, and honestly, you’ll probably feel a little proud of yourself. Now go make a batch—you deserve a dessert that works as hard as you do.


