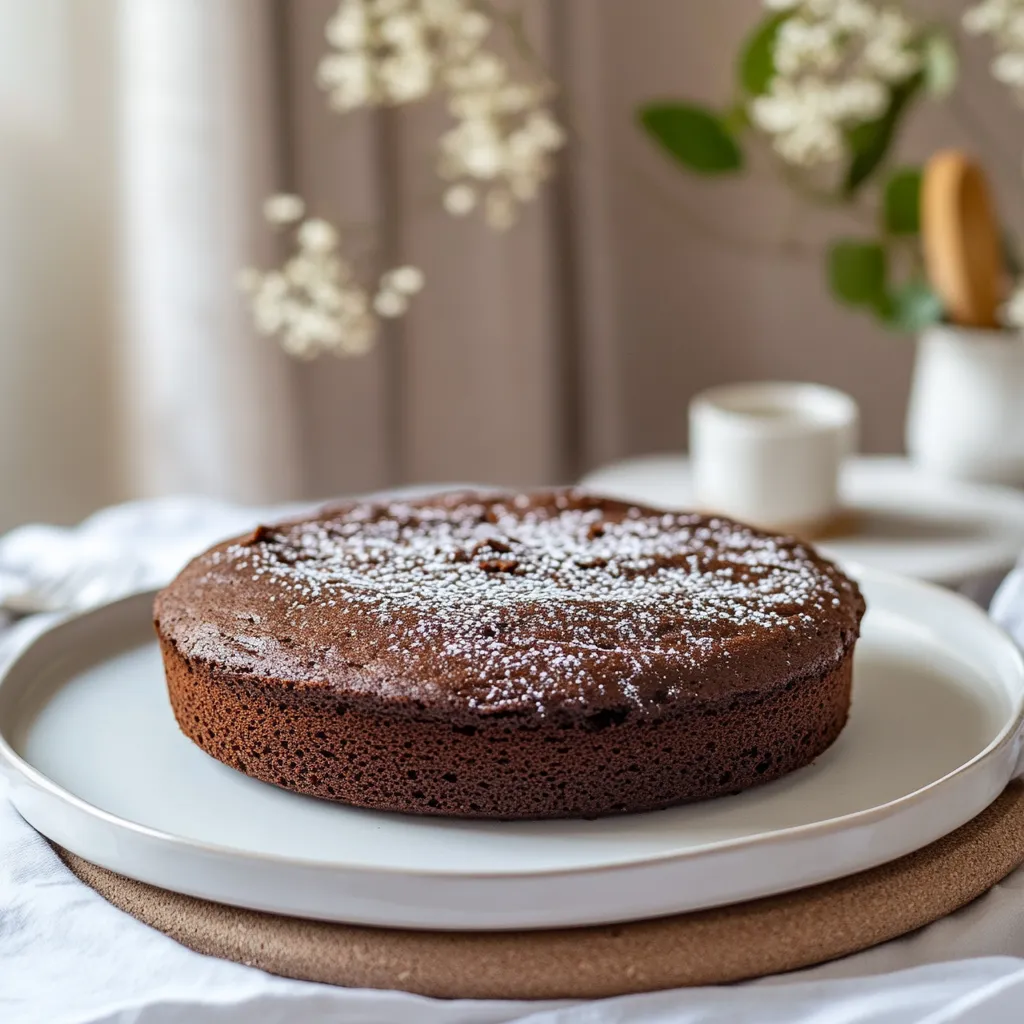
Easy Gluten Free Chocolate Cake don’t have to be a compromise in flavor or texture. If you’re someone who loves rich, moist chocolate cake but needs to avoid gluten, this easy gluten-free chocolate cake recipe is exactly what you’ve been searching for. The best part? It’s incredibly simple to make and results in a cake so good that no one will ever guess it’s gluten-free!
In this article, we’ll walk through everything you need to know to make a perfect gluten-free chocolate cake—from choosing the right ingredients to baking tips that will make your cake the star of any occasion. Let’s dive in!

What Makes This Gluten Free Chocolate Cake Special?
There are many gluten-free chocolate cake recipes out there, but what sets this one apart is its perfect texture, rich flavor, and simplicity. You don’t need any fancy equipment or complex steps. With just a few ingredients and a bit of patience, you can create a moist, fluffy, and melt-in-your-mouth cake.
Key benefits of this cake recipe:
• Fluffy & Moist: This cake has the perfect balance of lightness and richness, which can sometimes be hard to achieve in gluten-free baking.
• Rich Chocolate Flavor: Using high-quality cocoa and a special baking technique enhances the chocolate flavor, making it indulgent without being overpowering.
• Dairy-Free Friendly: The cake is naturally dairy-free, but it’s easy to customize with vegan-friendly frosting if needed.
• One-Bowl Recipe: The simplicity of this recipe means you can make the cake in just one bowl, minimizing cleanup and preparation time.
The Ingredients You’ll Need
The ingredients used in this cake are pretty straightforward, but they play a crucial role in creating the perfect texture and flavor. Here’s a breakdown of what you’ll need:
-
Gluten-Free All-Purpose Flour: The base of your cake. Be sure to use a high-quality gluten-free flour blend, such as Bob’s Red Mill 1:1 Baking Flour. The blend should include xanthan gum, which helps to bind the ingredients and provide structure to the cake.
-
Cocoa Powder: This is what gives the cake its rich, deep chocolate flavor. Make sure to use unsweetened cocoa powder for the best results. It’s a great idea to sift it before mixing to prevent clumps.
-
Baking Powder & Baking Soda: These leavening agents help the cake rise, ensuring it’s fluffy rather than dense. They also work together to activate the cocoa powder, making the flavor even more intense.
-
Sugar: A combination of white sugar and light brown sugar provides the sweetness and a slight caramel flavor from the molasses in the brown sugar.
-
Eggs: Eggs are essential for binding the ingredients together and giving the cake its structure. They also contribute to the cake’s fluffiness.
-
Milk: Any type of milk will work—whether dairy or non-dairy (almond milk works well). It adds moisture to the cake, making it soft and tender.
-
Coffee or Boiling Water: While it may sound unusual, adding coffee or hot water intensifies the chocolate flavor without making the cake taste like coffee. The heat also helps the cocoa powder dissolve smoothly into the batter.
-
Oil: Oil adds moisture and ensures the cake has a tender crumb. You can use any neutral oil, such as avocado oil, canola oil, or safflower oil.

Step-by-Step Guide to Making Gluten Free Chocolate Cake
Now that we’ve covered the ingredients, let’s walk through the process of making this delicious cake. It’s straightforward, and with just a few simple steps, you’ll be enjoying a mouthwatering gluten-free chocolate cake in no time.
Step 1: Prepare the Cake Pans
Start by preheating your oven to 350°F (175°C). This ensures the oven is hot enough to cook the cake evenly.
Next, prepare your cake pans. You can either use a 9×13 inch sheet pan or two 8-inch round cake pans for a layered cake. To prevent the cake from sticking, lightly spray the bottom and sides of the pans with cooking oil, then line the bottom with parchment paper. The parchment paper will help the cakes slide out of the pans easily after baking.
Step 2: Mix the Wet Ingredients
In a large mixing bowl, combine the following wet ingredients:
• Milk (dairy or non-dairy)
• Eggs
• Vanilla extract
• Vinegar (white or apple cider vinegar)
• Oil (safflower, canola, or refined avocado oil)
Whisk them together until smooth. The vinegar helps activate the baking soda and baking powder, contributing to the fluffiness of the cake.
Step 3: Sift the Dry Ingredients
Sift together the dry ingredients in a separate bowl to ensure there are no clumps:
• Gluten-free all-purpose flour
• Cocoa powder
• Baking powder
• Baking soda
• Salt
Sifting these ingredients ensures that they mix smoothly with the wet ingredients, preventing any lumps in your batter. It also ensures that your cake will have an even texture without any pockets of dry ingredients.
Step 4: Combine Wet and Dry Ingredients
Slowly add the sifted dry ingredients into the wet ingredients, stirring gently. Avoid overmixing the batter as this can result in a dense cake. Stir just until the flour mixture is fully incorporated into the wet mixture. At this point, the batter will be thick.
Step 5: Add Coffee or Boiling Water
Once the wet and dry ingredients are well mixed, it’s time to add the secret ingredient: coffee or boiling water. This may sound unusual, but hot liquid helps activate the cocoa powder and brings out the deep, rich chocolate flavor. Pour in 1 cup of brewed coffee (or hot water if you prefer a non-coffee version) and mix until smooth. The batter will now be quite thin, but this is normal and will result in a moist cake.
Step 6: Bake the Cake
Pour the batter into your prepared cake pans. For a layer cake, divide the batter evenly between the two pans, or if you’re using a 9×13 inch pan, just pour it all in.
Bake the cake for:
• 35-45 minutes for a 9×13 inch sheet cake
• 32-37 minutes for two 8-inch round cakes
Check for doneness by inserting a toothpick into the center of the cake. If it comes out clean or with just a few crumbs, the cake is done. Remember, oven times may vary, so it’s always a good idea to start checking a few minutes before the suggested time is up.
Step 7: Cool the Cake
Once the cake is finished baking, let it cool in the pans for 10-20 minutes. This allows the cake to firm up a bit before removing it from the pans.
Next, carefully turn the cake pans upside down onto a cooling rack. The cake should slide out easily. If it’s a little stuck, run a butter knife along the edges to loosen it. Once removed, peel off the parchment paper, then flip the cakes back to their upright positions.
Allow the cake to cool completely before frosting it. If you frost the cake while it’s still warm, the frosting will melt and run off.
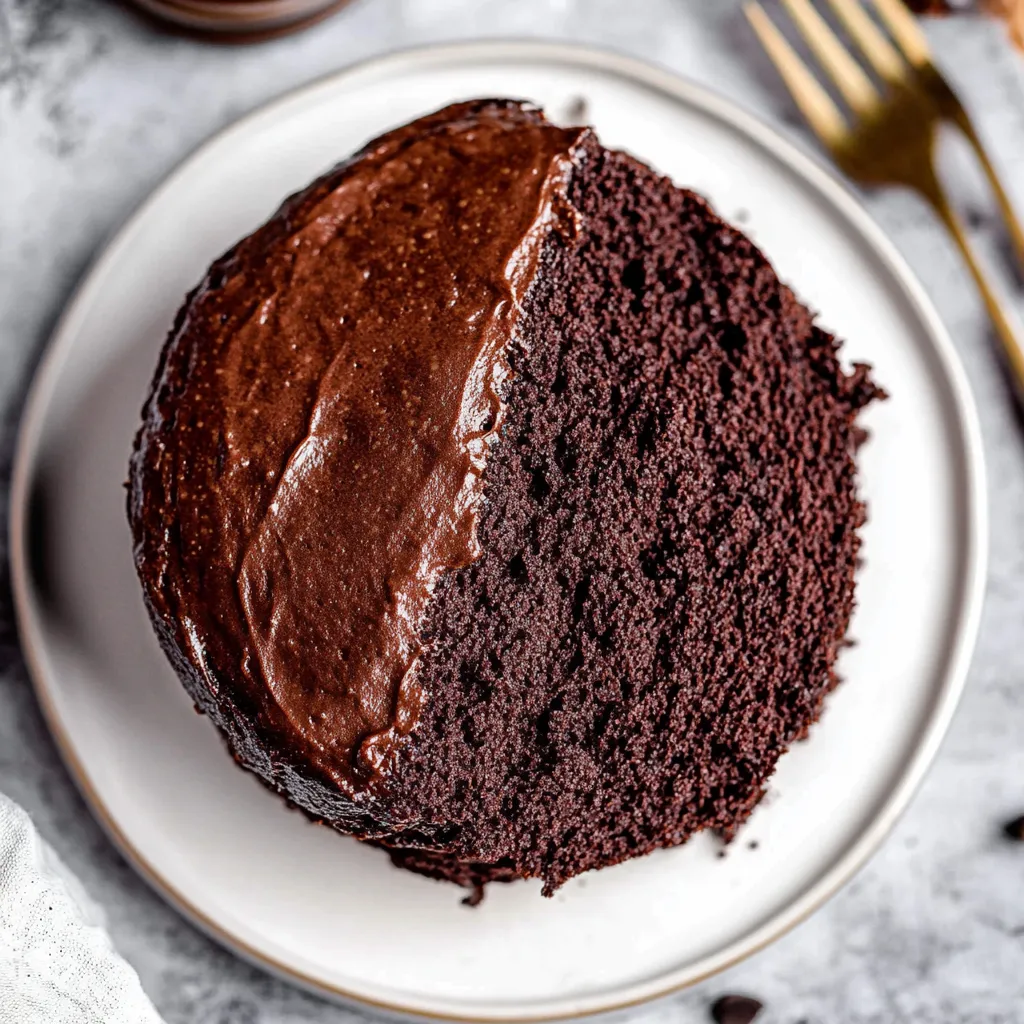
Making the Dairy-Free Chocolate Buttercream Frosting
A rich chocolate cake deserves an equally indulgent frosting. This dairy-free buttercream frosting is incredibly smooth and velvety, making it the perfect match for your gluten-free chocolate cake. Here’s how to make it:
Ingredients for Frosting:
• Vegan butter (or regular butter if you’re not dairy-free)
• Cocoa powder (sifted)
• Powdered sugar (sifted, 3-5 cups)
• Non-dairy milk (or regular milk, as needed for consistency)
• Vanilla extract
Instructions for Frosting:
-
Beat the butter: Start by beating the softened butter in a stand mixer or with a handheld electric mixer until smooth and creamy.
-
Add the cocoa powder: Slowly beat in the sifted cocoa powder. Make sure it’s fully incorporated before moving to the next step.
-
Mix in powdered sugar: Add powdered sugar, one cup at a time. Beat well after each addition to achieve a smooth texture. Adjust the amount of powdered sugar depending on how thick or spreadable you want your frosting.
-
Add milk and vanilla: Once the powdered sugar is mixed in, add the non-dairy milk (or regular milk) to achieve the desired consistency. Add a little bit at a time and mix until smooth.
-
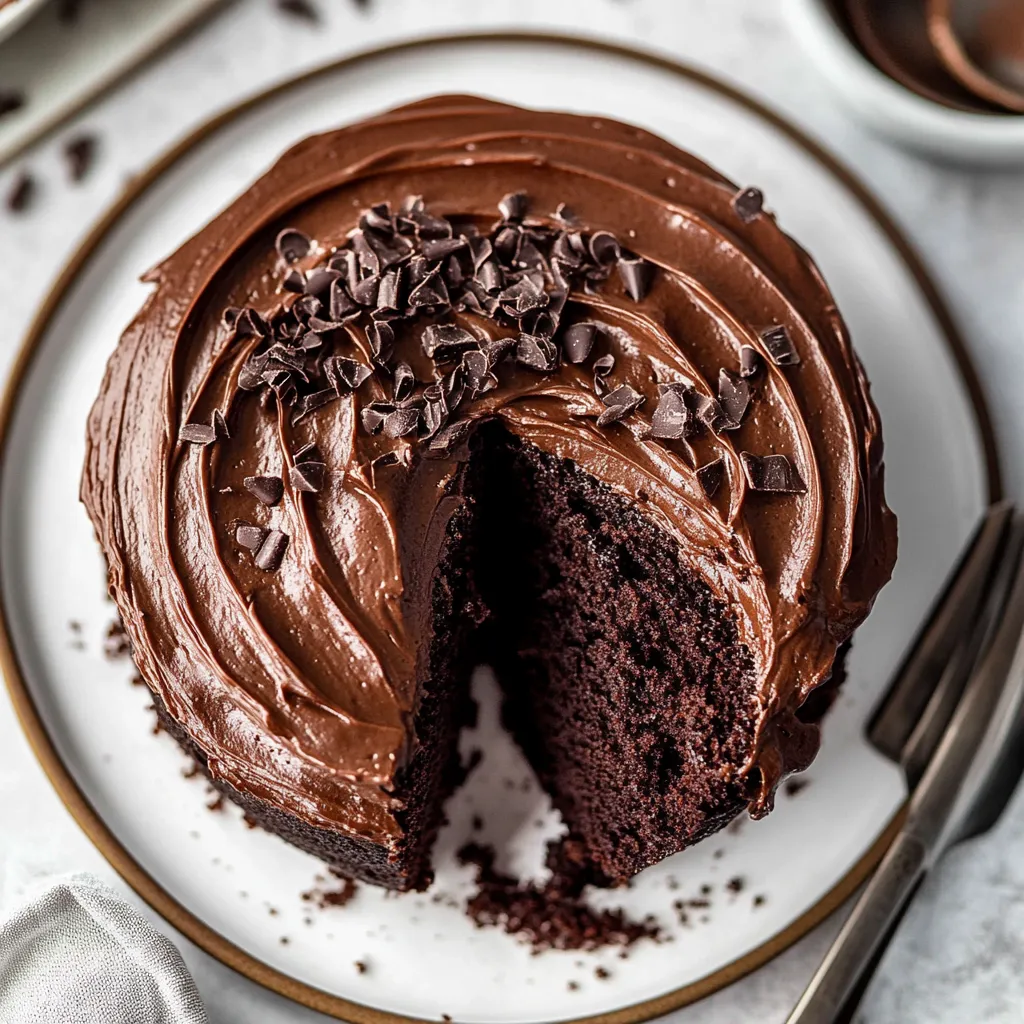
Frost the cake: Spread the frosting evenly over the cooled cake, starting from the top and working your way down the sides. If you’re feeling creative, you can pipe the frosting onto the edges for a decorative touch.
Tips for Making the Perfect Gluten Free Chocolate Cake
While this gluten-free chocolate cake recipe is simple, a few tips can ensure your cake turns out perfect every time. These helpful hints will make your baking process smoother and the results even better.
1. Use the Right Flour Blend
Not all gluten-free flour blends are created equal. The key to a successful gluten-free cake lies in choosing the right flour blend. Bob’s Red Mill 1:1 Baking Flour is a highly recommended option, as it includes xanthan gum, which provides the necessary structure to the cake. If you decide to use another brand, ensure that it includes xanthan gum or another binding agent.
2. Don’t Overmix the Batter
Overmixing the batter is one of the most common mistakes in cake-making, especially for gluten-free cakes. While it’s tempting to get the batter perfectly smooth, overmixing can result in a dense or heavy cake. Mix the wet and dry ingredients just until they’re combined, and avoid using an electric mixer for this part. A whisk or a spatula works best to avoid overmixing.
3. Let the Cake Cool Completely Before Frosting
This may seem obvious, but it’s worth repeating: Always allow the cake to cool completely before frosting. If you apply the frosting while the cake is still warm, the frosting will melt and become a runny mess. Patience is key here—let the cake rest on a cooling rack until it’s completely cool.
4. Baking Time May Vary
All ovens heat differently, so the suggested baking times in the recipe are just a guideline. It’s a good idea to check the cake a few minutes before the recommended time is up. Insert a toothpick into the center of the cake to check if it’s done. If it comes out clean, your cake is ready.
5. Make It Ahead of Time
This gluten-free chocolate cake is perfect for making ahead of time. Once baked, you can store the cooled cake layers at room temperature for up to 3-4 days, or freeze them for up to a month. If you’re preparing it for an event, freezing the cake layers before frosting can save you time on the day of the celebration.
6. Customize the Frosting
If you’re looking to add a personal touch, you can customize the frosting. You can try adding flavors like mint extract, coffee, or even a dash of almond extract for a unique twist. If you want a lighter option, consider using a whipped frosting or cream cheese frosting for a different texture.
7. Try Other Variations
This recipe serves as a great base for experimenting with different flavors. For example, you can add:
• Chocolate chips to the batter for a more decadent treat.
• Dried fruits like cherries or raspberries for a fruity contrast.
• Nuts such as chopped walnuts or almonds for added crunch.
You can also adjust the sweetness by adding more or less sugar based on your taste preferences.
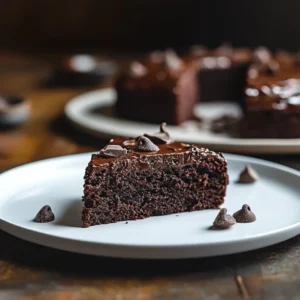
How to Serve This Gluten-Free Chocolate Cake
This gluten-free chocolate cake is perfect for any occasion. Here are some ideas on how to serve it:
-
As a birthday cake: Whether it’s a small gathering or a big celebration, this cake will be the center of attention. The rich chocolate flavor and moist texture make it a birthday favorite.
-
With a scoop of ice cream: Pair the cake with a scoop of vanilla or dairy-free ice cream for the ultimate indulgence. The contrast of warm cake and cold ice cream is always a winner.
-
For a cozy dessert night: If you’re craving something sweet for a quiet evening at home, this cake is perfect. Serve it with a cup of tea or coffee for a delightful treat.
-
For a family meal: Just like your favorite Easy Gluten Free Chocolate Cake dish, this cake can be the perfect end to a hearty, comforting meal.
Storage and Freezing Tips
To keep your gluten-free chocolate cake fresh for longer, follow these storage tips:
• At room temperature: Store the cake in an airtight container at room temperature for 3-4 days. It will stay moist and delicious.
• In the fridge: If you need to store it for a longer period, refrigerate the cake for up to 1 week. Just make sure to keep it covered.
• Freezing: If you want to make the cake ahead of time, you can freeze the cake layers before frosting. Wrap the layers tightly in plastic wrap and store them in an airtight container. When ready to use, let them thaw at room temperature before frosting and serving.
Gluten Free Chocolate Cake Recipe Card
Ingredients:
Dry Ingredients:
-
2 ⅔ cups gluten-free all-purpose flour (Bob’s Red Mill 1:1 Baking Flour recommended)
-
1 cup unsweetened cocoa powder
-
1 ½ teaspoons baking powder
-
1 teaspoon baking soda
-
½ teaspoon salt
Wet Ingredients:
-
1 cup milk (dairy or non-dairy)
-
1 cup white sugar
-
¾ cup light brown sugar
-
3 large eggs
-
1 teaspoon white or apple cider vinegar
-
1 tablespoon vanilla extract
-
⅔ cup oil (safflower, canola, or refined avocado oil)
-
1 cup hot brewed coffee (or boiling water)
For the Dairy-Free Buttercream Frosting:
-
¾ cup butter (or vegan butter for dairy-free)
-
½ cup unsweetened cocoa powder (sifted)
-
3-5 cups powdered sugar (sifted)
-
2-4 tablespoons non-dairy milk (or regular milk)
-
2 teaspoons vanilla extract
Instructions:
-
Preheat Oven & Prepare Pans: Preheat your oven to 350°F (175°C). Grease a 9×13-inch sheet pan or two 8-inch round cake pans with oil and line the bottoms with parchment paper.
-
Mix Wet Ingredients: In a large mixing bowl, whisk together the milk, eggs, vanilla extract, vinegar, and oil until smooth.
-
Sift Dry Ingredients: In a separate bowl, sift together the gluten-free flour, cocoa powder, baking powder, baking soda, and salt.
-
Combine Wet & Dry Ingredients: Gradually add the dry ingredients to the wet mixture and stir until combined. The batter will be thick.
-
Add Coffee/Boiling Water: Pour in the hot coffee or boiling water and mix until smooth. The batter will become thinner.
-
Pour into Pans: Pour the batter evenly into the prepared cake pans. For a 9×13-inch pan, use all the batter, or divide it between the two 8-inch pans for a layered cake.
-
Bake: Bake for 35-45 minutes for a sheet cake or 32-37 minutes for a layered cake, or until a toothpick inserted in the center comes out clean.
-
Cool: Let the cakes cool in the pans for 10-20 minutes, then remove and place on a cooling rack to cool completely before frosting.
-
Make Buttercream Frosting: Beat the softened butter until smooth. Gradually add sifted cocoa powder, powdered sugar, and non-dairy milk, mixing until smooth and creamy. Add vanilla extract and mix well.
-
Frost the Cake: Once the cake is completely cooled, spread the frosting evenly on top of the cake. Add decorative touches like sprinkles if desired.
Notes:
-
Make sure the cake is fully cooled before frosting to prevent the frosting from melting.
-
For a non-coffee version, use hot water instead of brewed coffee. It still brings out the rich chocolate flavor.
-
Store the cake at room temperature for up to 3-4 days or refrigerate it for up to 1 week. The cake layers can be frozen for up to a month before frosting.
-
If you prefer a vegan cake, use vegan butter and a plant-based milk alternative.
Nutritional Facts (per serving):
-
Calories: 380 kcal
-
Carbohydrates: 69g
-
Protein: 4.1g
-
Fat: 11.6g
-
Fiber: 3.3g
-
Sugar: 49g
Prep Time: 10 minutes
Cook Time: 30-45 minutes
Total Time: 40-55 minutes
Method: Baking
Cuisine: American
Servings: 12
Calories: 380 per serving
Yield: 1 cake (9×13-inch or 2 layers of 8-inch cakes)
Easy Gluten Free Chocolate Cake Recipe
Ingredients
Dry Ingredients:
- 2 ⅔ cups gluten-free all-purpose flour (Bob’s Red Mill 1:1 Baking Flour recommended)
- 1 cup unsweetened cocoa powder
- 1 ½ teaspoons baking powder
- 1 teaspoon baking soda
- ½ teaspoon salt
Wet Ingredients:
- 1 cup milk (dairy or non-dairy)
- 1 cup white sugar
- ¾ cup light brown sugar
- 3 large eggs
- 1 teaspoon white or apple cider vinegar
- 1 tablespoon vanilla extract
- ⅔ cup oil (safflower, canola, or refined avocado oil)
- 1 cup hot brewed coffee (or boiling water)
For the Dairy-Free Buttercream Frosting:
- ¾ cup butter (or vegan butter for dairy-free)
- ½ cup unsweetened cocoa powder (sifted)
- 3-5 cups powdered sugar (sifted)
- 2-4 tablespoons non-dairy milk (or regular milk)
- 2 teaspoons vanilla extract
Instructions
- Preheat Oven & Prepare Pans: Preheat your oven to 350°F (175°C). Grease a 9×13-inch sheet pan or two 8-inch round cake pans with oil and line the bottoms with parchment paper.
- Mix Wet Ingredients: In a large mixing bowl, whisk together the milk, eggs, vanilla extract, vinegar, and oil until smooth.
- Sift Dry Ingredients: In a separate bowl, sift together the gluten-free flour, cocoa powder, baking powder, baking soda, and salt.
- Combine Wet & Dry Ingredients: Gradually add the dry ingredients to the wet mixture and stir until combined. The batter will be thick.
- Add Coffee/Boiling Water: Pour in the hot coffee or boiling water and mix until smooth. The batter will become thinner.
- Pour into Pans: Pour the batter evenly into the prepared cake pans. For a 9×13-inch pan, use all the batter, or divide it between the two 8-inch pans for a layered cake.
- Bake: Bake for 35-45 minutes for a sheet cake or 32-37 minutes for a layered cake, or until a toothpick inserted in the center comes out clean.
- Cool: Let the cakes cool in the pans for 10-20 minutes, then remove and place on a cooling rack to cool completely before frosting.
- Make Buttercream Frosting: Beat the softened butter until smooth. Gradually add sifted cocoa powder, powdered sugar, and non-dairy milk, mixing until smooth and creamy. Add vanilla extract and mix well.
- Frost the Cake: Once the cake is completely cooled, spread the frosting evenly on top of the cake. Add decorative touches like sprinkles if desired.
Notes
-
- Make sure the cake is fully cooled before frosting to prevent the frosting from melting.
-
For a non-coffee version, use hot water instead of brewed coffee. It still brings out the rich chocolate flavor.
- Store the cake at room temperature for up to 3-4 days or refrigerate it for up to 1 week. The cake layers can be frozen for up to a month before frosting.
- If you prefer a vegan cake, use vegan butter and a plant-based milk alternative.


