Few things feel as comforting as the smell of fresh bread drifting through your home. It pulls people out of rooms. It sparks random hunger. It makes a regular day feel special. That’s the quiet magic of bread machine bread.
This recipe proves you don’t need fancy skills or extra time to bake great bread. The machine does the heavy lifting. You add ingredients, press a button, and walk away. No kneading by hand. No flour-covered counters. No guessing if the dough feels “right.”
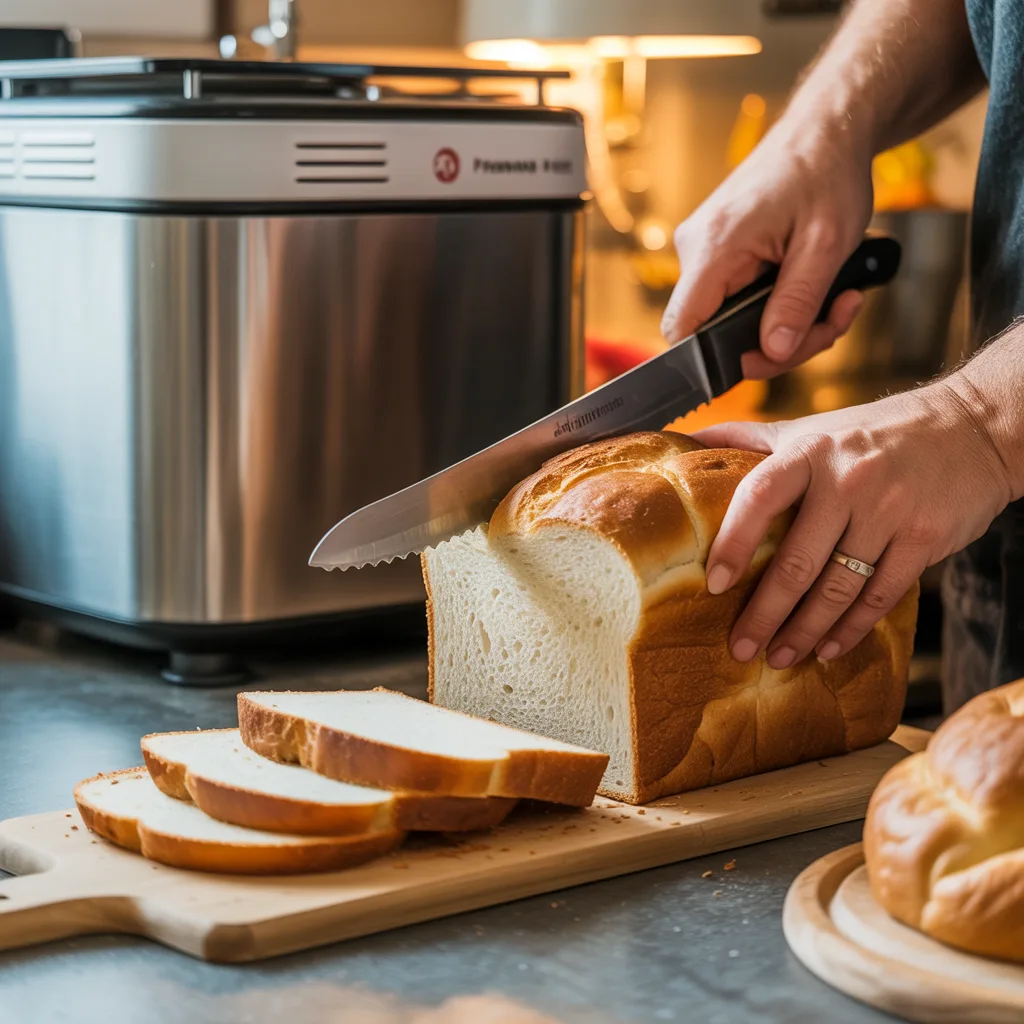
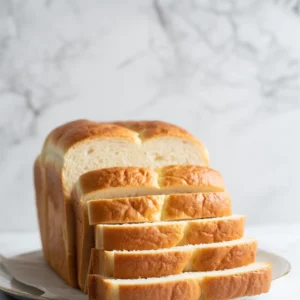
Bread machine bread works for busy weekdays, relaxed weekends, and anyone who wants homemade comfort without a mess. The loaf bakes soft on the inside, golden on the outside, and slices beautifully. If you’ve ever wanted fresh bread without the stress, this recipe has your back.
Why This Bread Belongs in Your Weekly Routine
This bread recipe makes life easier in the best way.
You don’t babysit dough or watch the clock. The bread machine handles mixing, kneading, rising, and baking. You get consistent results without standing in the kitchen for hours. That’s a big win on busy days.
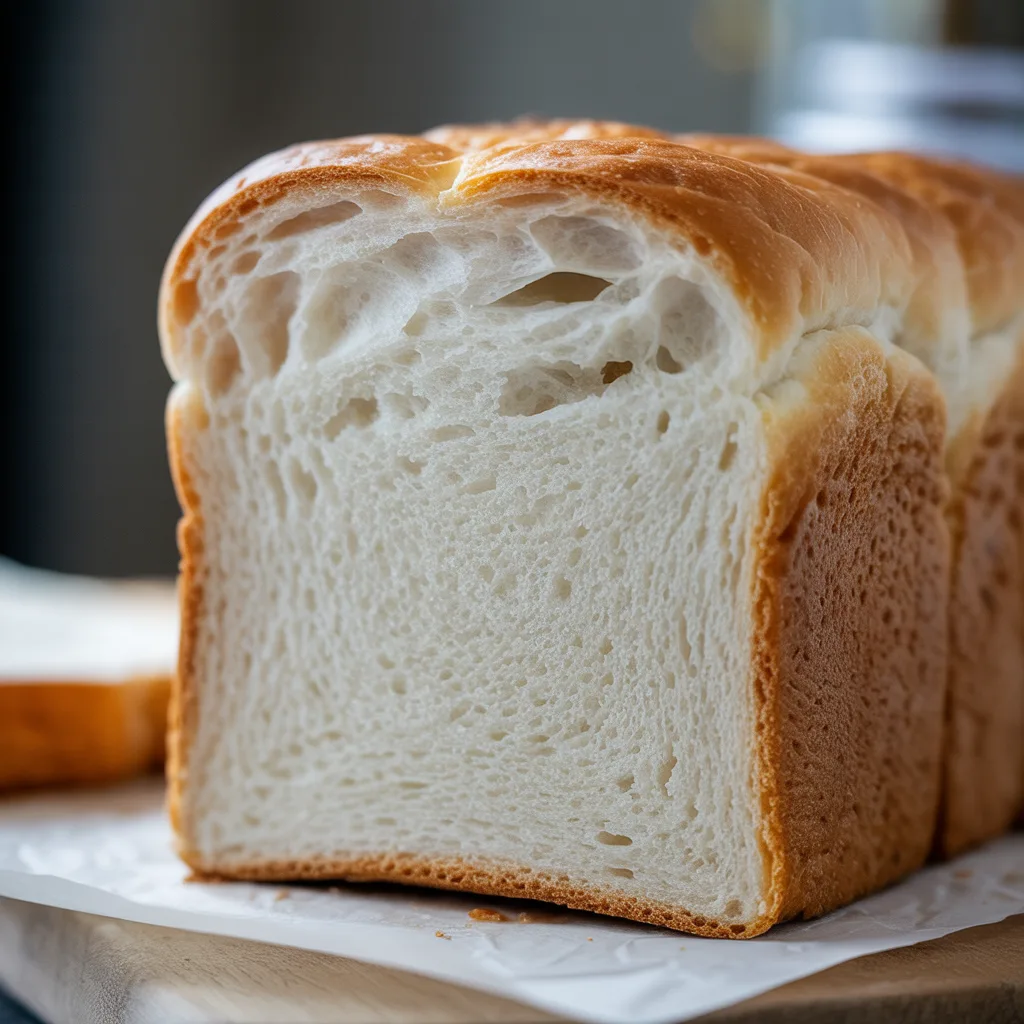
The texture also shines. The loaf bakes soft and fluffy with a tender crumb. The crust turns lightly golden without feeling tough. IMO, that balance makes it perfect for sandwiches, toast, or simple butter-and-jam moments.
From a lifestyle angle, bread machine bread fits real schedules. You can prep it in the morning and come home to fresh bread. Cleanup stays minimal. Comfort stays high. That’s a routine worth keeping.
Ingredients That Make the Loaf Work
Bread feels simple because it is. Each ingredient has a clear job.
-
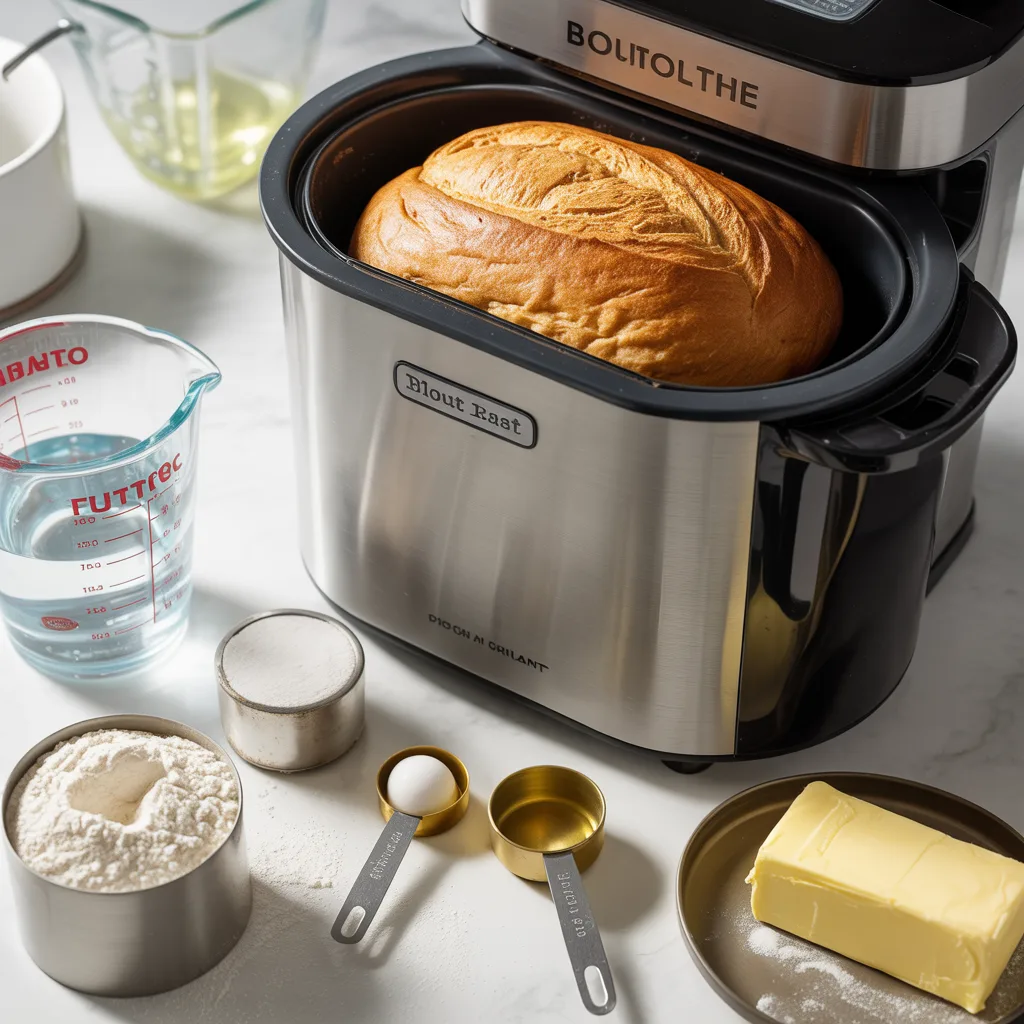
Bread flour – Creates structure and chewy texture.
-
Warm water – Activates the yeast.
-
Sugar – Feeds the yeast and adds light sweetness.
-
Salt – Balances flavor and strengthens dough.
-
Oil or butter – Adds softness and moisture.
-
Active dry yeast – Makes the bread rise.
That’s it. Six ingredients. No extras.
How to Make It Step by Step
Step 1: Add Ingredients in Order
Pour warm water into the bread machine pan first. Add oil, sugar, salt, and flour. Make a small well in the flour and add yeast last.
Step 2: Lock the Pan in Place
Secure the pan inside the machine. Close the lid firmly.
Step 3: Choose the Setting
Select the basic or white bread setting. Choose loaf size and crust color if your machine allows.
Step 4: Press Start
Press start and let the machine work. Avoid opening the lid during mixing or baking.
Step 5: Remove the Loaf
When baking finishes, carefully remove the pan. Turn the loaf out onto a rack.
Step 6: Cool Before Slicing
Let the bread cool for at least 15 minutes before slicing.
Fresh bread needs patience.

Common Bread Machine Slip-Ups to Avoid
Even easy bread can misbehave.
Adding ingredients out of order
Liquid first and yeast last matter.
Using hot water
Too much heat kills yeast fast.
Opening the lid too often
Heat loss affects rise.
Cutting bread too soon
Hot bread tears and gums up.
Avoid these mistakes and your loaf behaves nicely.
Simple Ways to Change the Flavor
Once you master the base, options open up.
-
Whole wheat: Replace half the flour with whole wheat flour.
-
Garlic bread: Add garlic powder and herbs.
-
Sweet loaf: Add honey instead of sugar.
-
Dairy-free: Use oil instead of butter.
-
Seeded bread: Add seeds after the first knead.
Bread welcomes creativity.
Helpful Things to Know Before You Start
Measure ingredients carefully.
Bread baking relies on balance.
Use fresh yeast.
Old yeast causes dense loaves.
Check dough early.
It should form a smooth ball.
Level flour properly.
Too much flour dries bread.
These small steps prevent frustration.
Tips That Improve Every Loaf
Use bread flour when possible.
It improves structure.
Add ingredients at room temperature.
They blend better.
Remove bread right away.
Steam softens crust.
Store bread once fully cool.
Moisture matters.
Good habits lead to great bread.
Easy and Delicious Ways to Serve It
Bread machine bread fits many meals.
-
Toasted with butter
-
Sandwiches for lunch
-
Alongside soup or salad
-
French toast the next day
Simple bread makes meals better.
Keeping Your Bread Fresh
Store bread in a sealed bag or container at room temperature for up to 3 days.
For longer storage, slice the loaf and freeze it for up to 2 months. Toast slices straight from frozen for best texture.
Fresh bread doesn’t last long—but freezing helps.
Answers to Questions People Always Ask on Bread machine bread
Can I use all-purpose flour?
Yes, but bread flour works better.
Why did my bread sink?
Too much liquid or yeast can cause collapse.
Can I delay the bake cycle?
Yes, as long as ingredients stay cool.
Do I need special yeast?
Bread machine yeast works best but isn’t required.
Why is my crust pale?
Choose a darker crust setting next time.
Can kids help make this?
Yes. Measuring ingredients is perfect for helpers.
Bread Machine Bread
Equipment
- Bread machine
- Measuring cups and spoons
- Cooling rack
Ingredients
- Bread Flour – Structure and chew
- Warm Water – Activates yeast
- Sugar – Feeds yeast
- Salt – Flavor balance
- Oil or Butter – Soft texture
- Yeast – Makes bread rise
Instructions
- Add ingredients to pan in order.
- Place pan in machine.
- Select basic bread setting.
- Start machine.
- Remove loaf and cool before slicing.
Notes
Nutritional Facts (Per Slice – Approximate)
Calories: 150 Fat: 3g Carbs: 27g Protein: 4g Sugar: 2g
Final Thoughts on Bread machine bread
Bread machine bread proves homemade bread doesn’t need stress or extra time. It gives you comfort, reliability, and fresh loaves with minimal effort.
You get soft slices, a warm kitchen, and bread that feels personal. The machine does the work, and you enjoy the reward. Whether you bake weekly or occasionally, this recipe earns its place.
Press start. Let the machine hum. Enjoy the smell that makes everyone smile.


