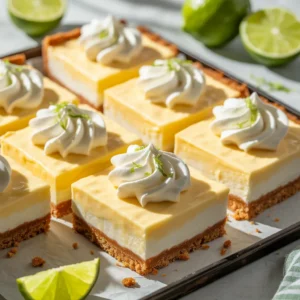
So… you want dessert, but not something heavy that makes you feel like you need a nap right after? Yeah, same. That’s exactly why these Key Lime Pie Bars (Tangy Summer Dessert) exist.
They’re bright. They’re creamy. They’ve got that perfect sweet and tangy kick that makes your taste buds wake up and say, “okay, this is good.”
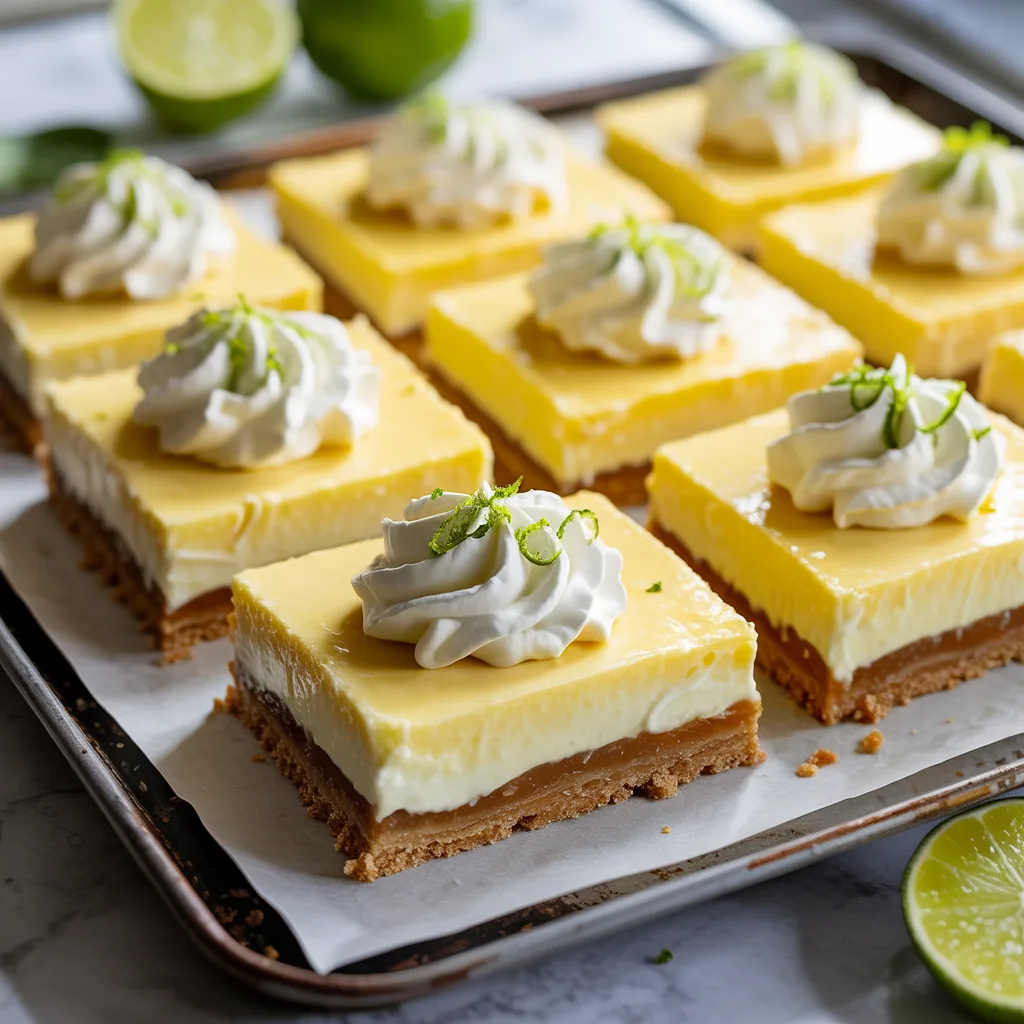
Think classic key lime pie—but easier, cleaner, and way more snackable. No slicing messy pie. No stress. Just neat little bars you can grab and enjoy.
And honestly? They taste even better cold, straight from the fridge. Which means yes… you will keep going back for “just one more.”
Let’s make them.
Why This One Is Worth Trying
Let’s not overthink it. These bars are just really, really good.
- Perfect sweet + tangy balance (not too sour, not too sweet)
- Easy to cut and serve (no pie disasters here)
- Great for parties, picnics, or random cravings
- Looks impressive with almost zero effort
- Tastes like summer in every bite
Also, IMO, anything citrus-based just feels lighter. Like dessert—but guilt-free-ish.
Key Lime Pie Bars
Equipment
- Mixing bowls
- Whisk
- Baking pan
- Spatula
- Measuring cups and spoons
Ingredients
- For the crust:
- 1 ½ cups graham cracker crumbs
- 1/3 cup sugar
- 6 tbsp melted butter
- For the filling:
- 4 egg yolks
- 1 can sweetened condensed milk
- 1/2 cup fresh key lime juice
- 1 tbsp lime zest
- Optional topping:
- Whipped cream
- Extra lime zest
Instructions
- Preheat oven to 350°F (175°C).
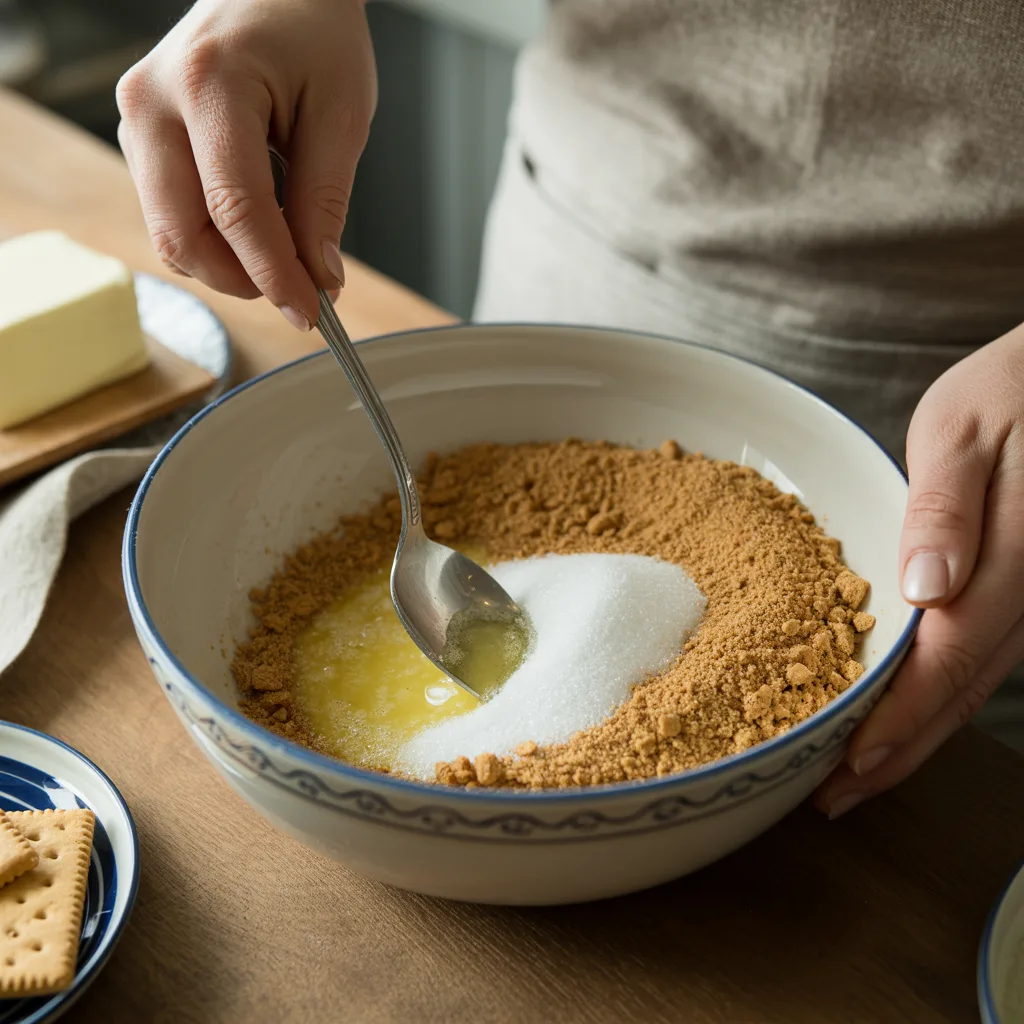
- Mix graham crumbs, sugar, and melted butter.
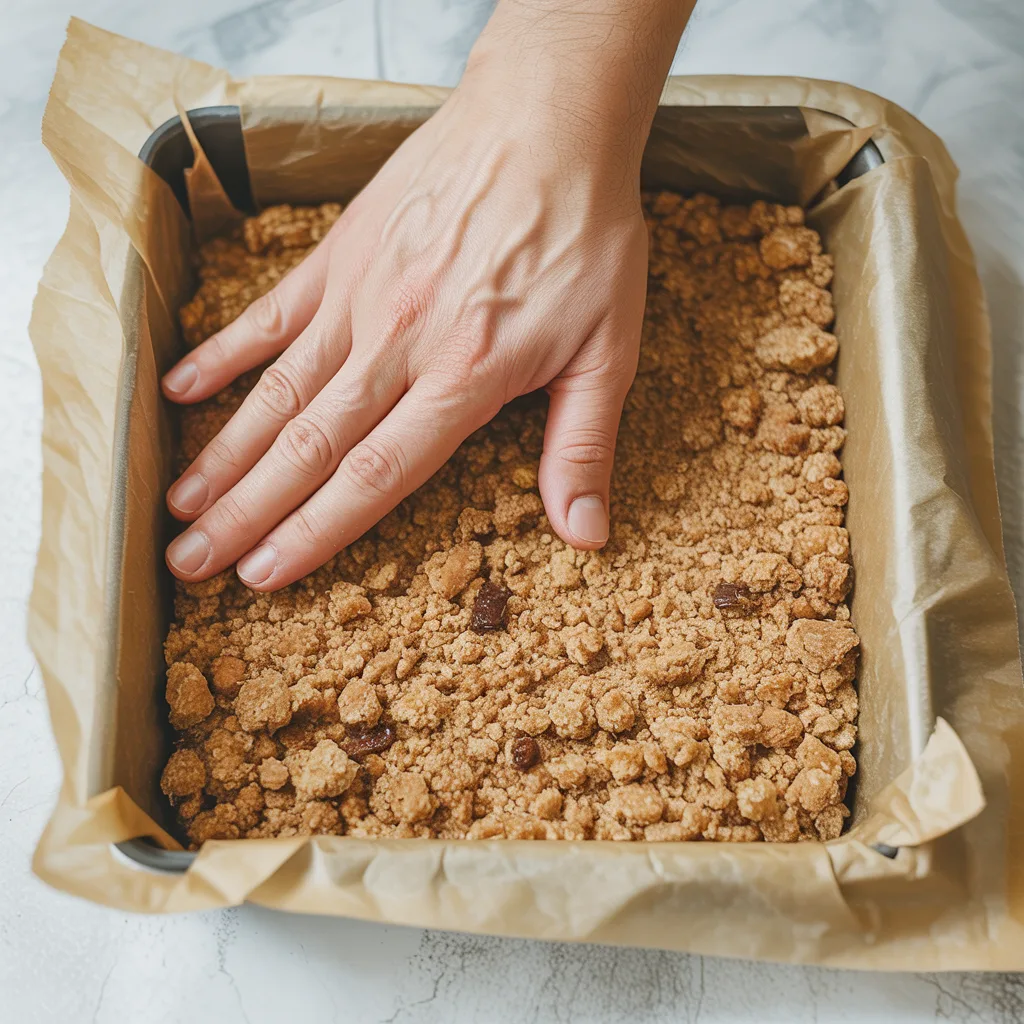
- Press mixture firmly into a baking pan.
- Bake crust for 8–10 minutes and let it cool slightly.
- In a bowl, whisk egg yolks until smooth.
- Add condensed milk, lime juice, and zest. Mix well.
- Pour filling over crust and spread evenly.
- Bake for 12–15 minutes until set.
- Cool at room temperature, then chill for at least 2 hours.
- Slice into bars and serve.
Notes
Do not overbake the filling
Chill well before cutting for clean slices
Nutritional Facts
Calories: 280 kcal
Carbohydrates: 35g
Fat: 12g
Protein: 5g
What You’ll Need to Start
Simple ingredients. Nothing complicated. Just the good stuff.
For the crust:
- 1 ½ cups graham cracker crumbs (your crunchy base)
- 1/3 cup sugar (just enough sweetness)
- 6 tbsp melted butter (the glue that holds everything together)
For the filling:
- 4 egg yolks (this makes it rich and smooth)
- 1 can sweetened condensed milk (thick, creamy, sweet magic)
- 1/2 cup fresh key lime juice (fresh = better flavor, always)
- 1 tbsp lime zest (tiny but powerful)
Optional toppings:
- Whipped cream (soft, fluffy, and totally worth it)
- Extra lime zest (for that “I know what I’m doing” look)

Key Lime Pie Bars – Fresh, Creamy, and So Easy
Let’s Get Cooking
1. Build the crust
Grab a bowl and mix graham cracker crumbs, sugar, and melted butter. Stir until it looks like damp sand. If it feels too dry, add a tiny bit more butter.
Press it firmly into a lined baking pan. Use the back of a spoon or a flat glass. Pack it down well—this step matters.
2. Bake the base
Bake at 350°F (175°C) for about 8–10 minutes. You’re not cooking it fully, just setting it so it holds together.
Take it out and let it cool slightly. Don’t rush this part.
3. Make the filling
In a bowl, whisk egg yolks until smooth. Add condensed milk and mix until creamy.
Now add lime juice and zest. Stir gently. You’ll notice it thickens slightly—that’s exactly what you want.
4. Pour and level
Pour the filling over your crust. Spread it evenly so every corner gets love.
Tap the pan lightly to remove air bubbles. Yes, this helps.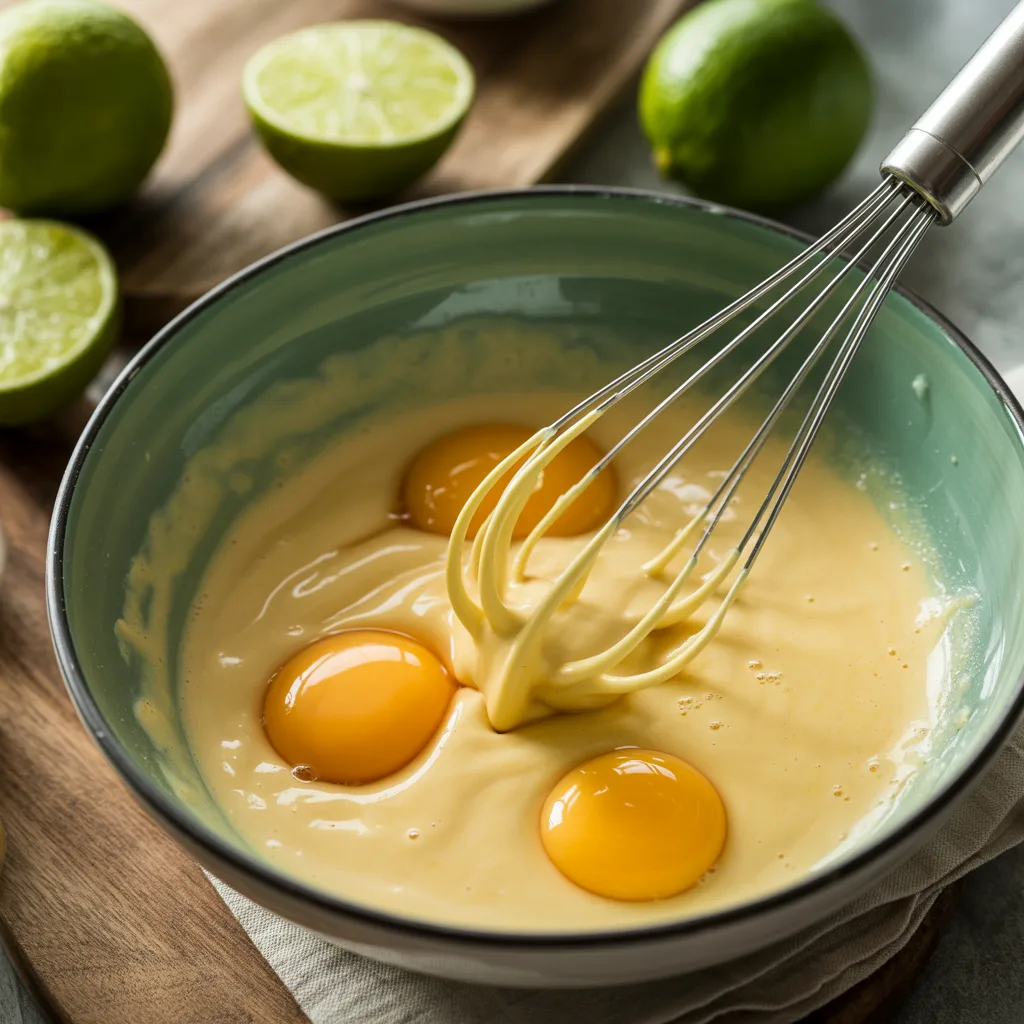
5. Bake again
Bake for 12–15 minutes. The edges should be set, and the center should still have a slight jiggle.
Don’t overbake. You want creamy, not rubbery.

6. Cool and chill
Let it cool at room temperature first. Then place it in the fridge for at least 2–3 hours.
If you can wait overnight? Even better. The flavor gets stronger and the texture becomes perfect.
7. Slice like a pro
Use a sharp knife. Wipe it clean between cuts for neat edges.
Add whipped cream or zest if you want to impress people. Or just eat them straight. Totally valid.
A Couple Things to Watch For
Let’s avoid the classic mistakes:
- Not chilling long enough
You’ll get messy, soft bars - Overbaking
Dry filling = sad dessert - Using bottled lime juice
It just doesn’t hit the same - Loose crust
Press it firmly or it will crumble
Make It Work for You
Feel like experimenting? Go for it:
- Swap lime with lemon for a softer flavor
- Add coconut flakes to the crust (hello tropical vibes)
- Make mini bars for parties
- Add a pinch of salt to balance sweetness
This recipe is flexible. Have fun with it.
Helpful Notes Along the Way
- Zest before you juice (way easier)
- Use room temp eggs for smoother mixing
- Line your pan for easy removal
- Chill longer for cleaner slices
Easy Ways to Improve It
- Add extra lime zest on top
Boosts flavor instantly - Chill overnight
Makes texture perfect - Use a glass dish
Shows off those pretty layersBetter Than Pie Key Lime Bars – Quick and Delicious
Serving Ideas to Try
Serve these bars in fun ways:
- With whipped cream on top
- With fresh berries
- With iced tea or lemonade
- As a light dessert after dinner
They’re refreshing, so people always want more.
Saving the Extras
- Store in fridge for up to 4 days
- Keep covered so they stay fresh
- Do not leave out too long
Pro tip: They taste even better the next day.
Questions You May Have Key Lime Pie Bars (Tangy Summer Dessert)
Can I use regular limes?
Yes. Totally fine. Still delicious.
Why is my filling runny?
Needs more chill time. Be patient.
Can I freeze them?
Yes, but texture may change a bit.
Can I make them ahead?
Yes—and you should. They get better.
Do I need whipped cream?
No… but also yes.
Can I make it less sweet?
Reduce condensed milk slightly.
Final Thoughts Key Lime Pie Bars (Tangy Summer Dessert)
So there you have it—your new go-to dessert: Key Lime Pie Bars (Tangy Summer Dessert).
They’re simple, fresh, and packed with that perfect sweet and tangy flavor. Not too heavy. Not too complicated. Just the kind of treat you can make anytime and actually enjoy without stress.
The best part? They look like you put in way more effort than you really did. And honestly, we love that for you.
Whether you’re making them for guests, family, or just for yourself (no judgment), these bars always deliver. One bite turns into two… and yeah, you already know how that ends.
Now go make a batch, chill them properly, and enjoy every single bite. You’ve earned it.


